Table of Contents
Introduction
If you’ve ever admired the smooth, durable finish on a car wheel, garden gate, or modern appliance and wondered how it was achieved, you’re likely looking at the result of one of the most advanced metal finishing methods used today. Behind that flawless appearance lies a precise, science-backed process that transforms raw metal into a long-lasting, weather-resistant masterpiece.
This powder coating step-by-step guide breaks down exactly how the entire process works from preparation to final inspection, so whether you’re considering a DIY project, evaluating a contractor, or setting up your facility, you’ll know what truly separates a professional finish from an amateur one.
By the end of this guide, you’ll understand not just what happens at each stage but why it matters and how small process decisions ultimately impact durability, appearance, and long-term value.
What is Powder Coating? A Quick Refresher
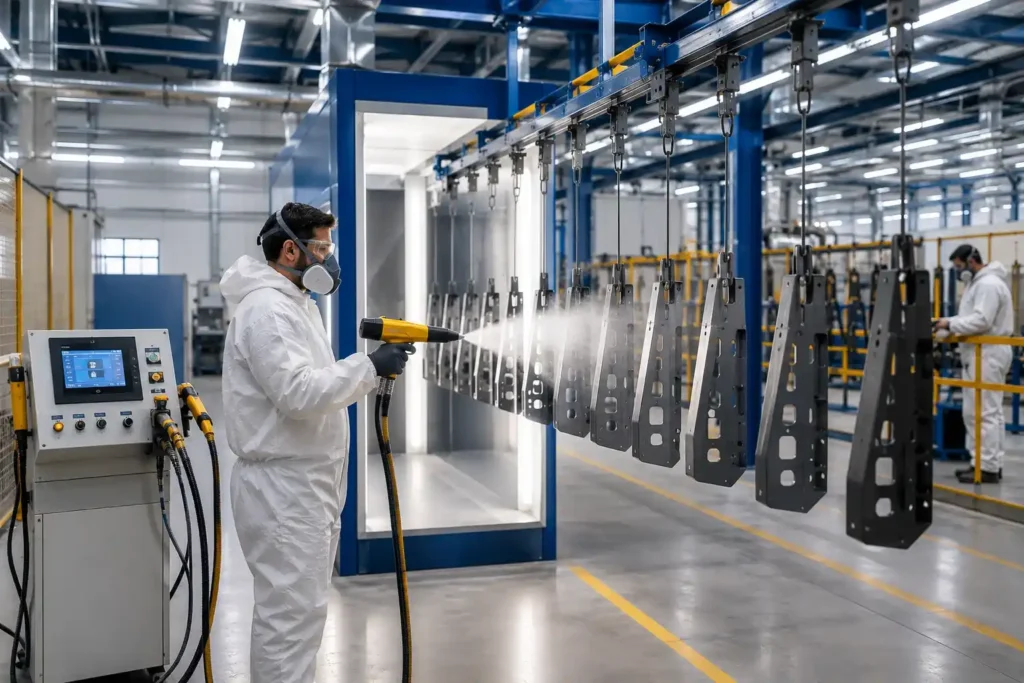
Powder coating is a dry finishing technique where electrostatically charged powder particles are sprayed onto a metal surface and then cured under heat to form a hard, even, protective film. Unlike traditional liquid paint, no solvents are involved, making it cleaner, more durable, and significantly more eco-friendly.
This finishing method has become the go-to solution for industries ranging from automotive and architecture to home appliances and industrial machinery, primarily because of its longevity, even film build, and consistent finish quality across batches.
Why the Process Matters More Than the Product
The quality of any powder coating job depends almost entirely on how disciplined the process is. Even the best powder cannot save a job that skipped pre-treatment, used incorrect oven settings, or lacked proper surface cleaning. That’s why understanding each phase and respecting its purpose is absolutely critical for anyone evaluating quality.
Industries that rely on this finishing method (think aerospace, automotive, medical equipment, and architectural metalwork) treat process control as non-negotiable. Every step has a specific scientific reason behind it, and skipping or shortcutting even one stage can compromise the final result entirely.
Equipment and Materials Needed
Essential Equipment
Types of Powder Used
Powders generally fall into two categories thermosets (epoxy, polyester, hybrid, and polyurethane), which chemically cross-link during curing, and thermoplastics, which simply melt and re-solidify on cooling. The choice depends entirely on the application. Epoxies excel indoors with chemical resistance, while polyesters resist UV better outdoors.
Safety Gear
The Powder Coating Process: Step-by-Step Breakdown
Step 1 : Surface Preparation and Cleaning
Step 2: Pre-Treatment
Step 3: Drying the Substrate
Step 4: Masking Sensitive Areas
Step 5: Electrostatic Powder Application
Step 6: Curing in the Oven
Step 7: Cooling and Final Inspection
Quality Control and Testing After the Process
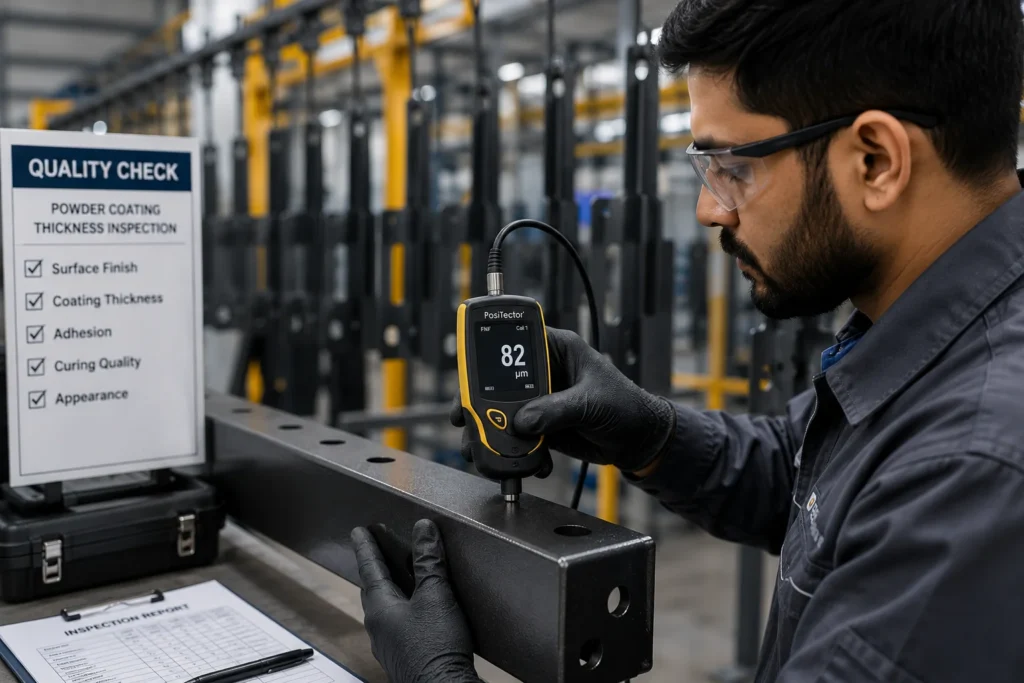
A trustworthy powder coating provider doesn’t stop at the curing oven; they verify the quality of every batch. Three primary tests confirm a finish is up to industry standards:
- Dry Film Thickness (DFT): measured with a magnetic gauge, typically 60–80 microns for most applications.
- Adhesion test: the cross-hatch method per ASTM D3359, where blade scoring and tape pull confirm bonding strength.
- Cure verification: a solvent rub test (MEK rub) checks whether the film has fully cross-linked.
These industry-standard checks recommended by the Powder Coating Institute clearly separate amateur shops from genuinely professional operations.
Common Mistakes to Avoid During the Process
Safety Considerations You Shouldn't Ignore
How Long Does the Whole Process Take?
Pro Tips for a Flawless Finish
A few small habits separate beginner work from professional-grade results:
- Always verify oven temperature with an independent thermal probe, built-in displays can drift
- Reuse reclaimed overspray sparingly to maintain color consistency across batches
- Keep humidity in the spray booth below 60% for optimal charge transfer
- Allow finished parts to fully cool before handling to avoid soft-film damage
These small refinements often deliver the biggest visible improvement in final quality.
Get a Professionally Coated Finish with Prismcoats
If you’d rather skip the heavy equipment investment, the steep learning curve, and the trial and error and simply get a flawless, factory-grade finish on your metal, that’s exactly where Prismcoats comes in. We specialize in precision powder coating that follows every quality checkpoint outlined above, from advanced pre-treatment lines to fully calibrated curing ovens.
Whether your project involves automotive parts, architectural metalwork, industrial machinery, or custom fabrication, our team brings years of process expertise and a genuine commitment to results that truly last.
Ready to experience the difference real process discipline makes? Contact Prismcoats today for a free quote, and let our experts deliver a finish you’ll be proud of for years to come.
Conclusion
The powder coating process isn’t magic; it’s methodical science, executed by skilled hands. From surface preparation to final inspection, every step matters, and shortcuts always reveal themselves later as failures. Whether you’re researching for your business, planning a DIY attempt, or evaluating a finishing partner, knowing what should happen at each stage gives you the power to demand real quality.
When in doubt, partner with professionals who treat process control as seriously as the final result itself.